Driveway Sealing
Sealing a Driveway
Routine maintenance and regular driveway sealing increase the life of your driveway and enhance your home’s curb appeal. Driveways undergo significant weathering and are exposed to substances such as salt, oil and gas that can quickly turn a driveway into a cracked and crumbling mess if not protected. To maintain your driveway and keep it looking beautiful, you can add a coat of sealant regularly. The frequency of coating your driveway varies by the type of climate and weather your driveway is exposed to. It can range from annually to every 5 years. Let vision be your guide, if you notice that your driveway is starting to crack or crumble, it is time to add a sealant.
Find the Right Sealant
You can find a good driveway sealing product at any home improvement store. Be sure to check the label to ensure you are buying the appropriate sealant for your driveway. Asphalt sealing requires a different product than concrete sealing. It is also important that you read the label on the product to understand any safety precautions prior to use.
Check the Weather
Prior to beginning the driveway sealing process, check the weather to pick a day where there is no rain in the forecast within 24-48 hours before and after the application. The ambient temperature should be at least 60°F for 24 hours before and after the sealant application.
Clean the Driveway
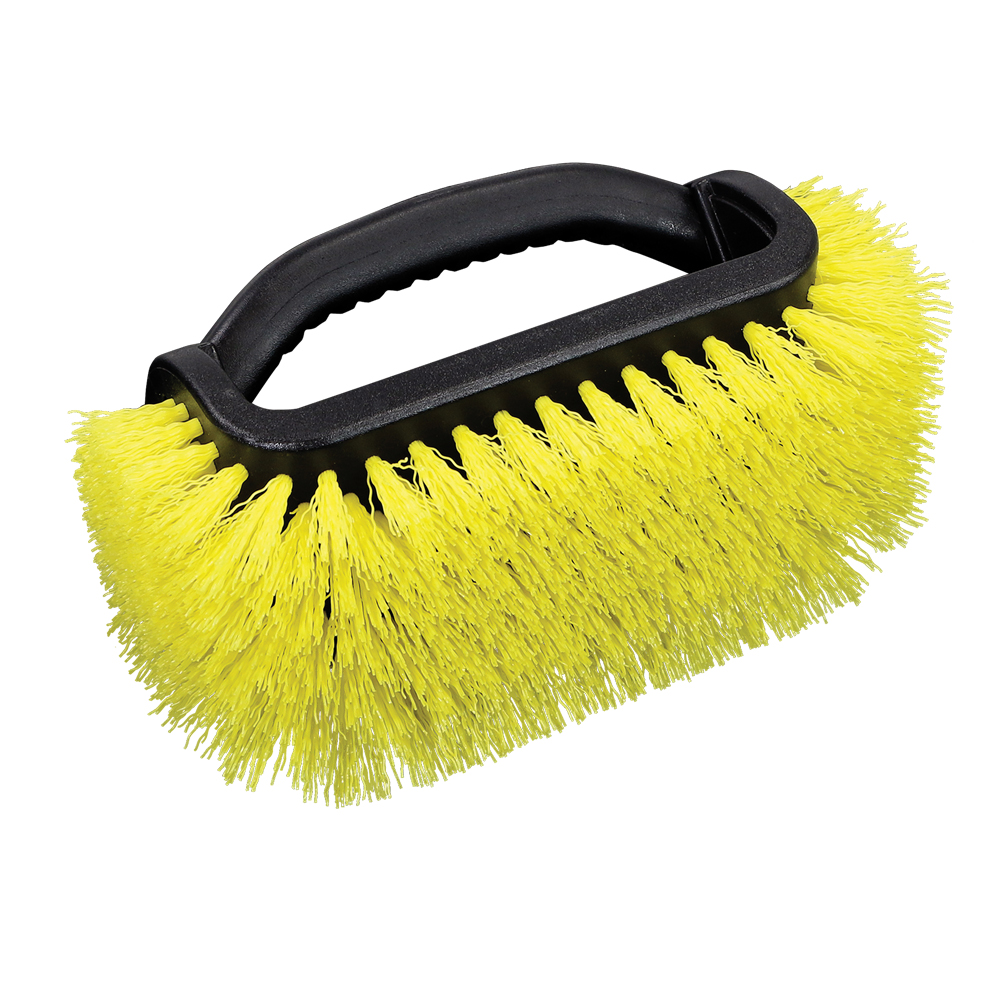
Your driveway should be clean before applying a sealer. You can use a broom to sweep the driveway clean. However, if it is particularly dirty with gas and oil, a stiff-bristled brush and soap and water is needed. The Unger Professional™ Outdoor Scrub Brush is a good brush for this task because its stiff bristles can aggressively clean tough stains, dirt, and debris. This brush can be attached to a water flow pole for extra cleaning power. If using soap and water, allow 24 hours for your driveway to dry before applying the sealer.
Seal the Driveway
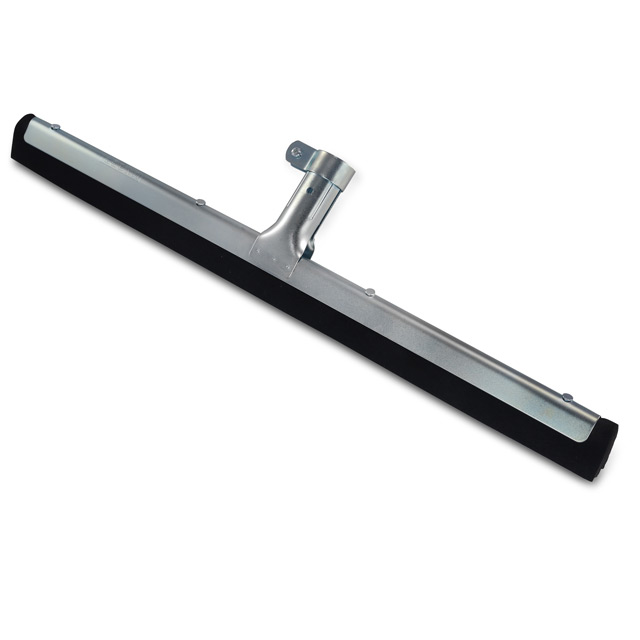
Next, tape off all surfaces adjacent to the pavement that the sealant shouldn’t come in contact with – you might need to use a dry brush to fill in any gaps at the edges that were blocked by the tape. When you are ready to pour the sealer, start from the garage or carport and work towards the street. The pour should be about 6 inches in width as you move across the driveway from one side to the other. Then, use the Unger Professional AquaFlex™ Uneven Surface Squeegee to spread the sealer into a thin layer, moving from one side to the other, and back again to ensure you cover the entire surface.
You should complete the entire driveway at one time, to ensure the sealing doesn’t dry uneven. Once you are done, its best not to allow anyone to walk or drive on the surface for 48 hours or until the sealer is completely dry.
For more cleaning tips, visit our Resources page.


